


Everything went perfectly for install and corrected the geometry issues incurred using a different companies lift kit. I would spend the money with these guys and do it right the first time!
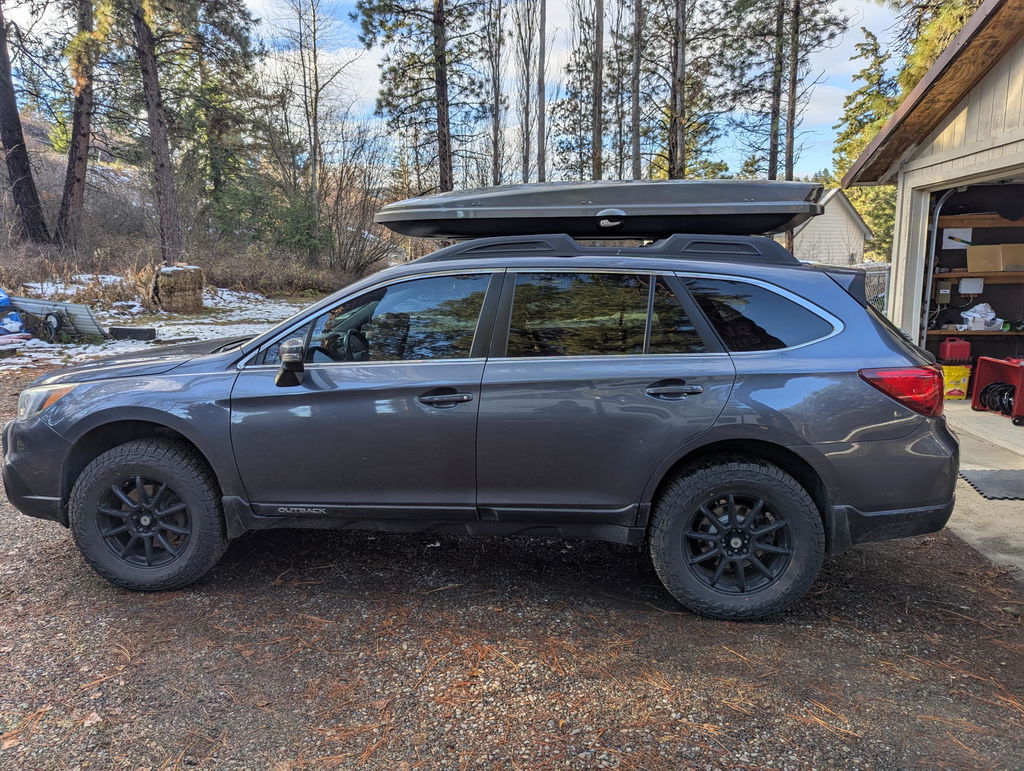
Fixed the camber issue with Overland lift kit. Solid material and sharp looking with logo. Great job RalliTEK
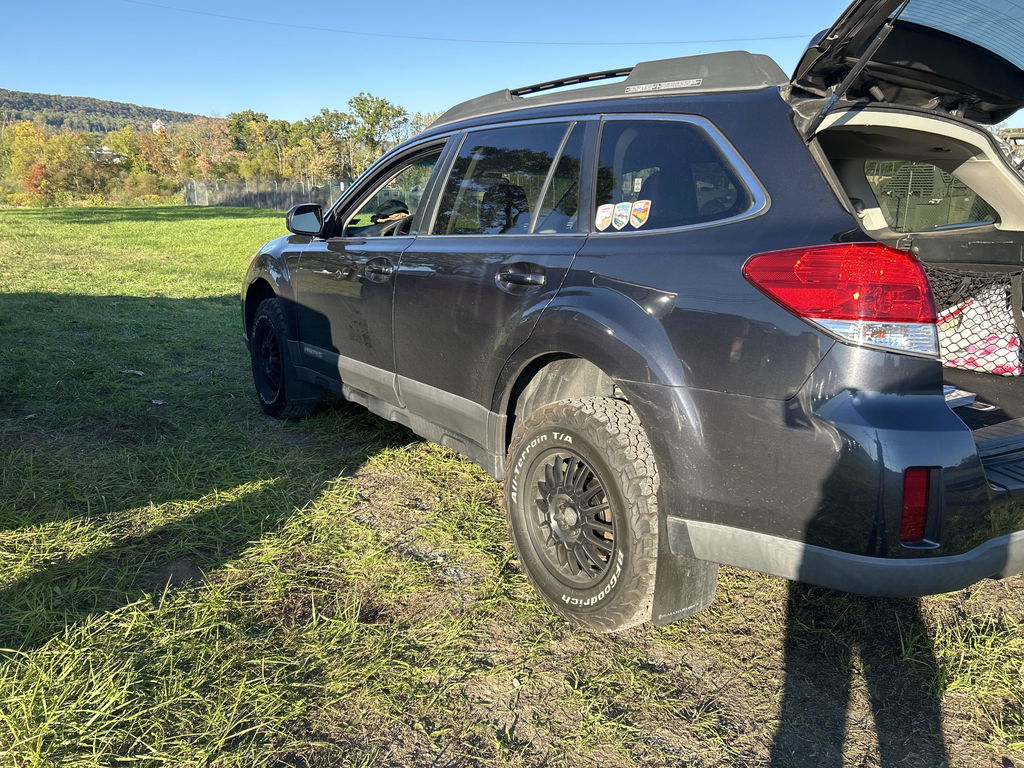
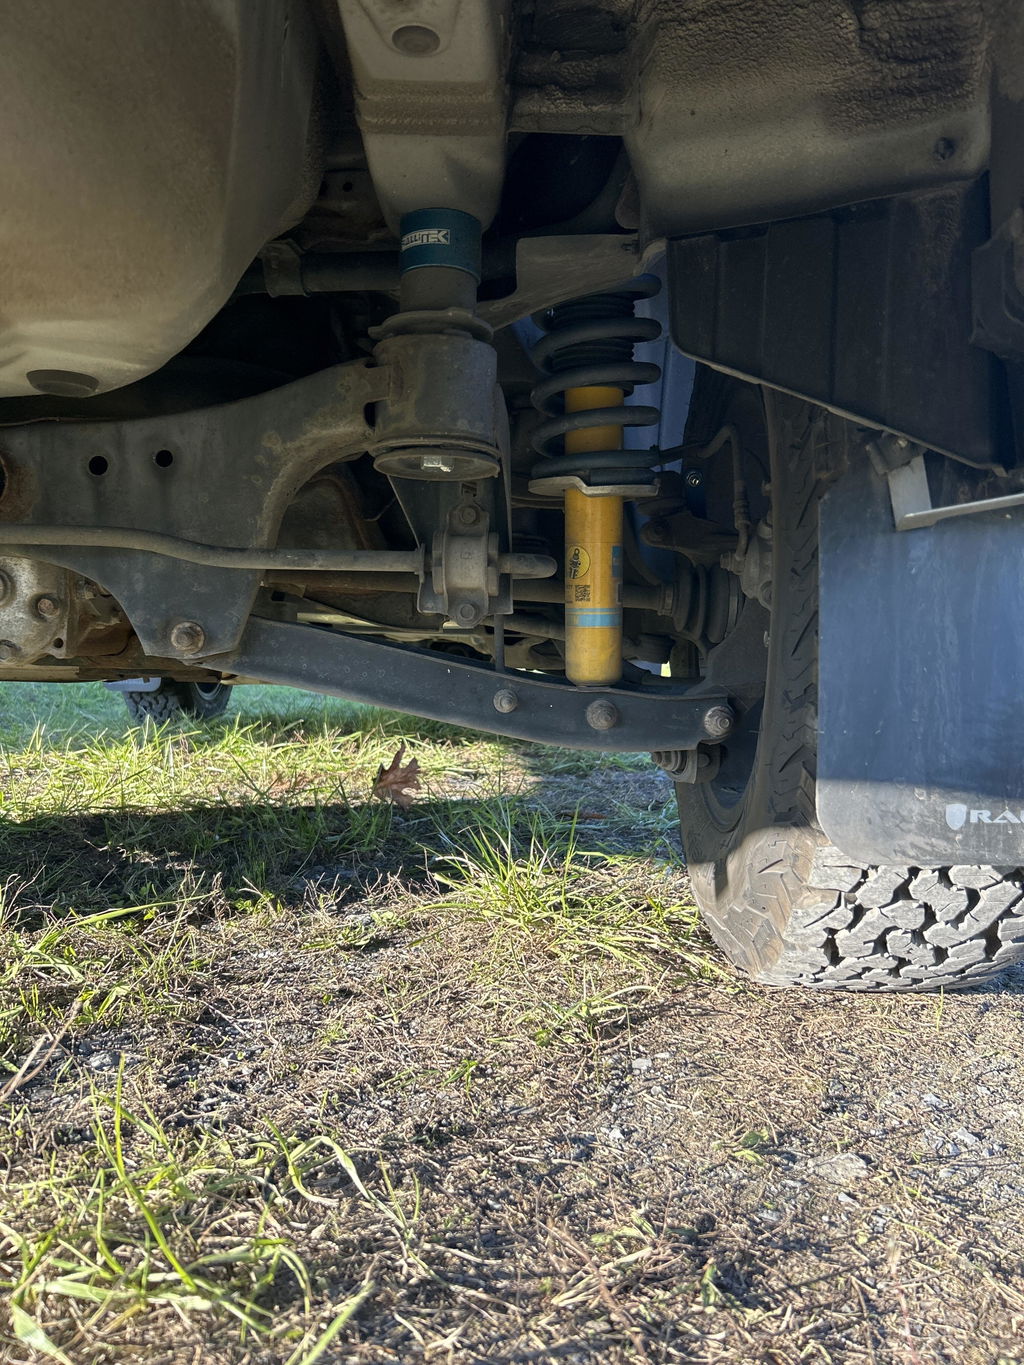
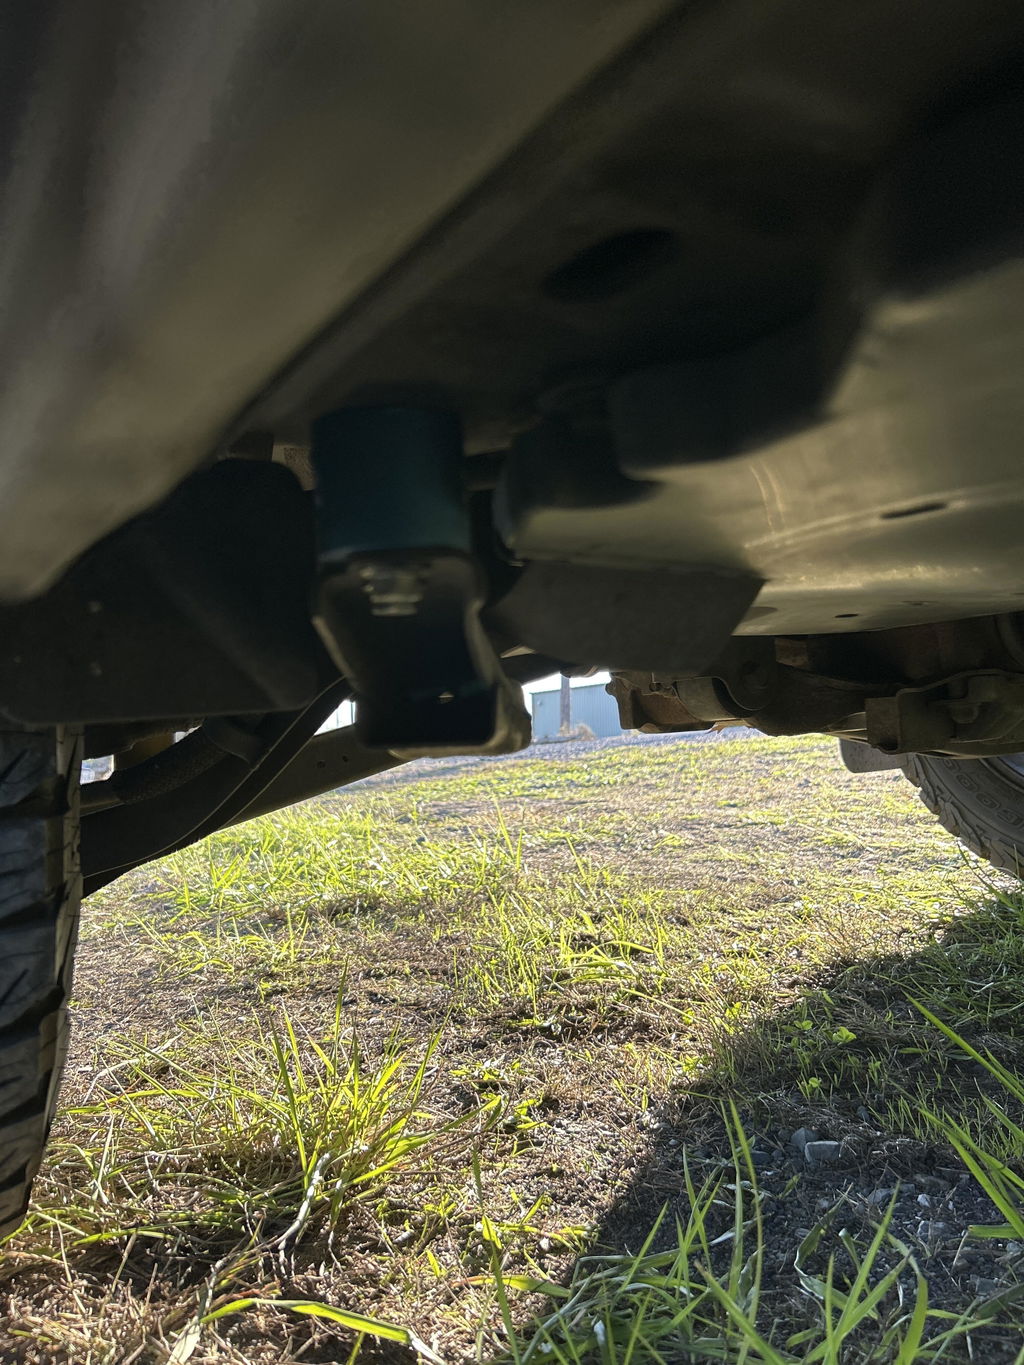
Came well packaged, no scrapes, scuffs, nor chunks taken out of any metal. Super clean, and looks to par.
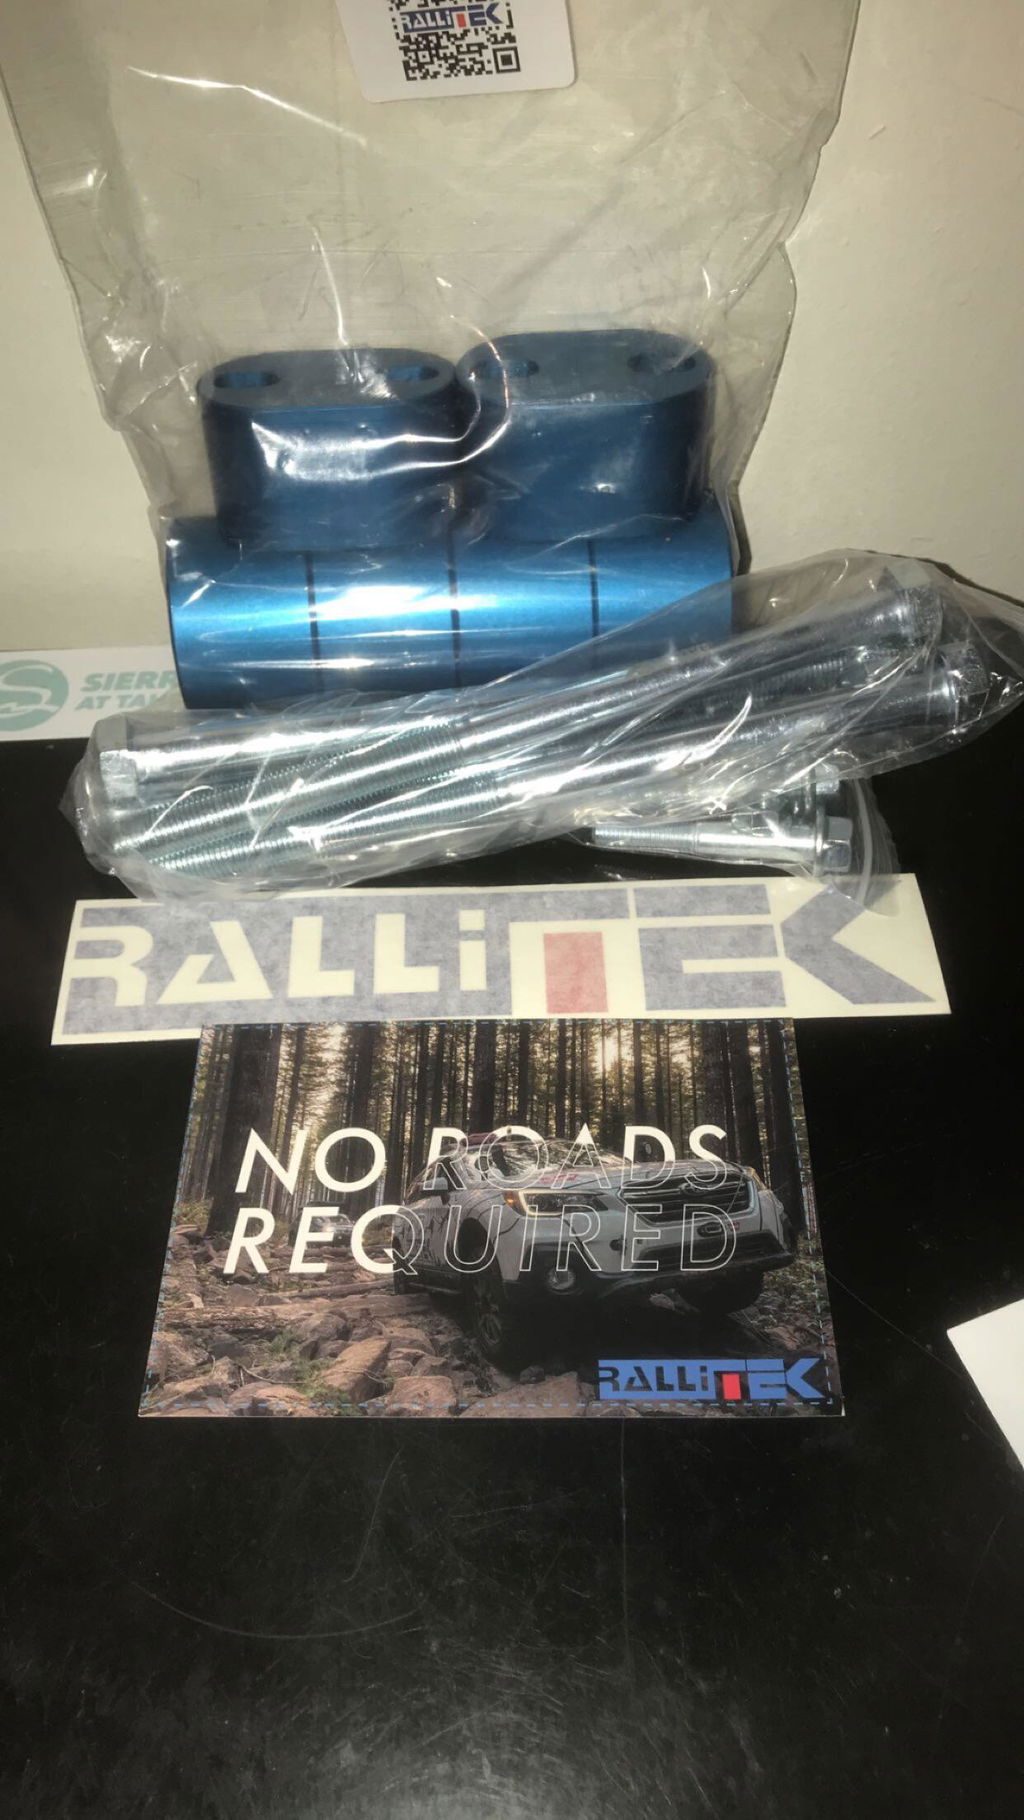
Super straight forward installation of the spacers. Instructions outlined everything needed. My 2013 Outback had issues after I lifted it, the rear tires would rub. Once I installed this the rubbing is gone. CV axles aren’t at a harsh angle anymore.
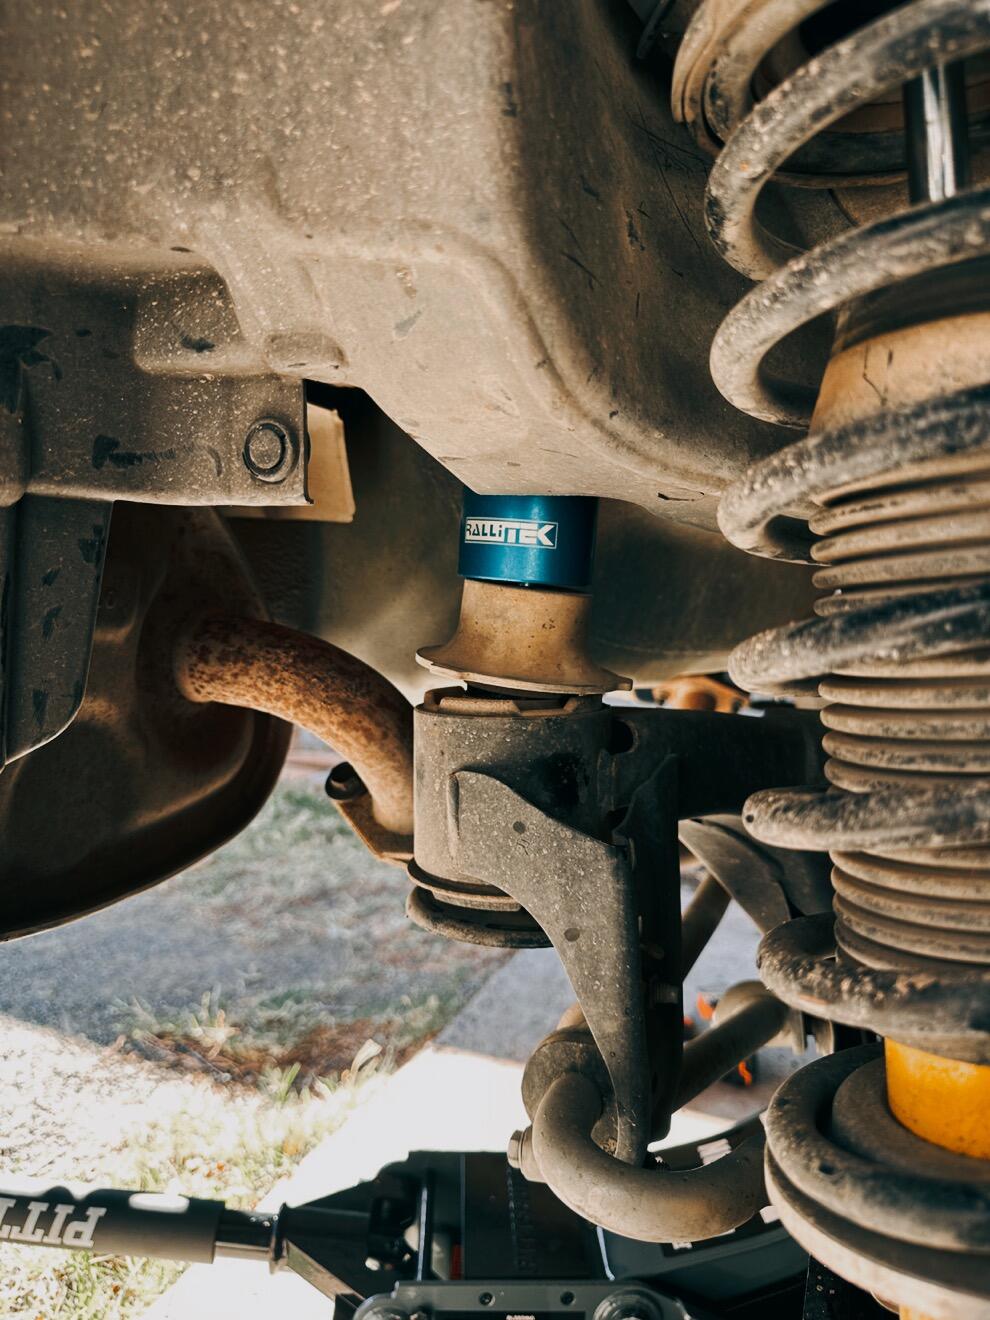
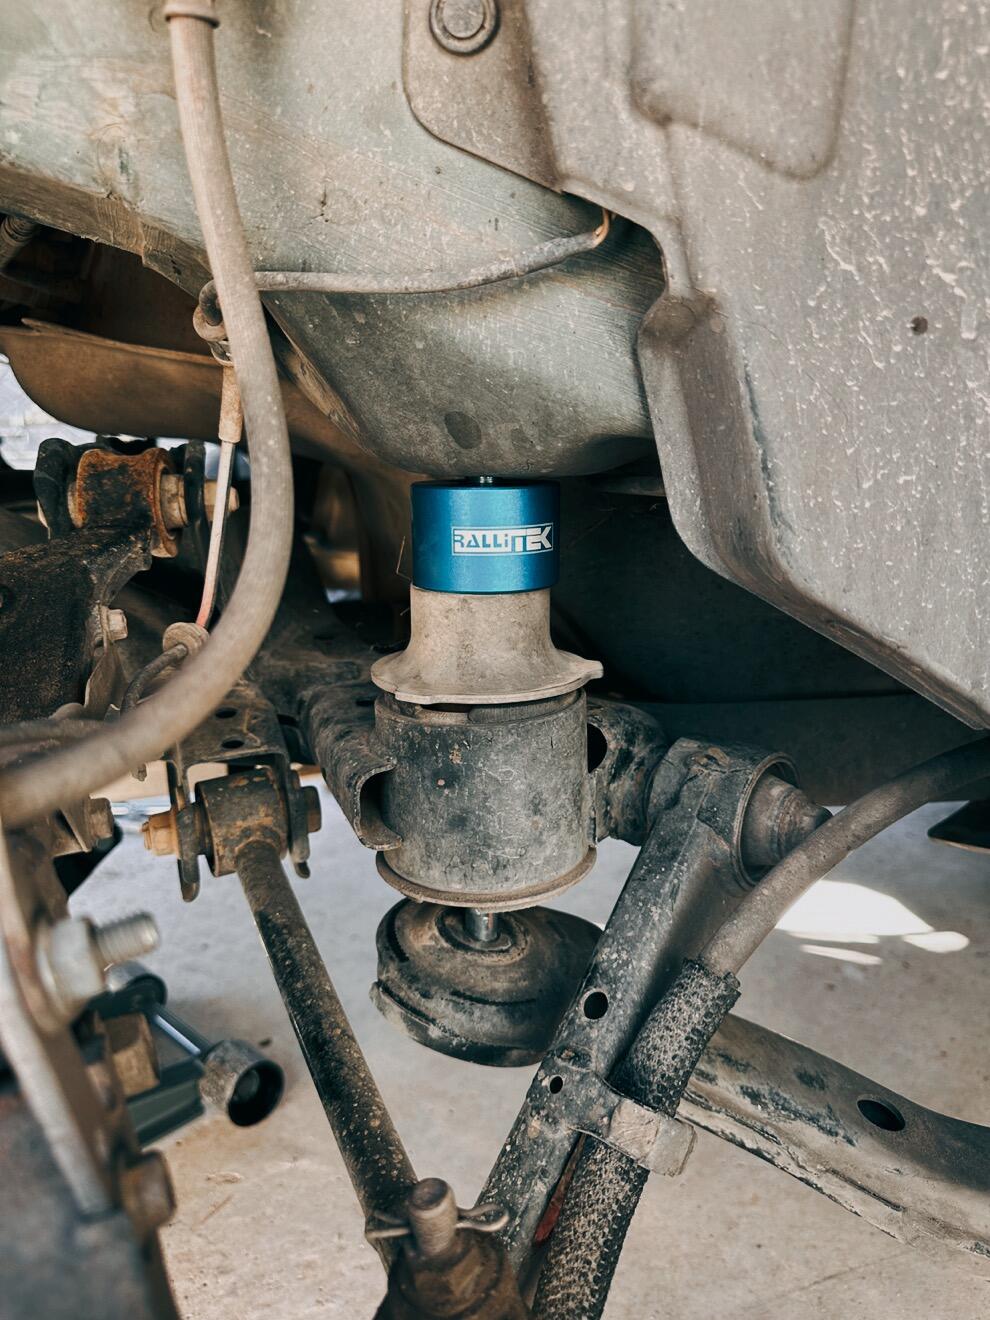
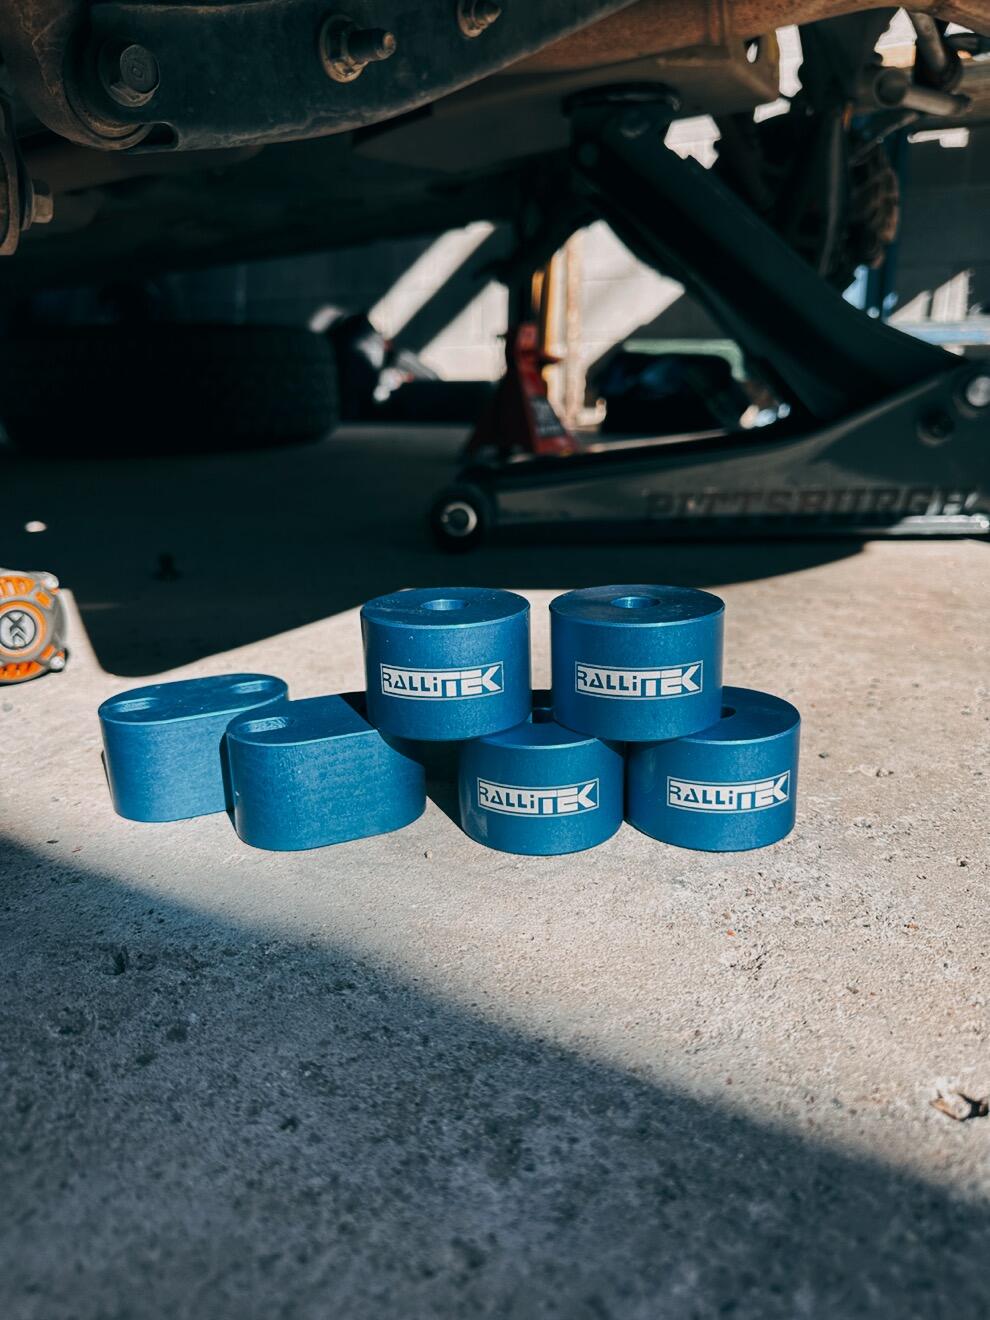
My forester no longer sags, and I genuinely couldn't be happier.
Sales person Tech help when i called Thanks Dallin was very helpful
This kit is a fantastic piece of gear. Installed very easy and looks great.
The combination of ya'lls springs with my B8 Bilstiens makes this thing handle waaaay better than i expected. The spacer kit wemt on perfectly. The rear control arms are also really badass. Love your products cant wait to order more.!!
Worked perfectly
It worked as advertised. Rear wheels are now not as cozy with the wheel well.
Great product, very easy to install, works very good.
Review for Flatout Suspension GR Lite (2013 Subaru Crosstrek XV)
Installed March 19, 2021
Full disclosure: I am not a professional mechanic. I wouldn’t even say I’m a self-taught mechanic. I’m one of those types who, dismantle things if you give me a screwdriver, but putting them back together is a different story. Most of my “fixing” was taught by the University of YouTube. So please please please read, research, ask, and always be safe when working on your vehicle.
I bought the Flatout Suspension GR Lite for our 2013 Subaru Crosstrek XV Limited Edition. It’s already at 98K miles so I figured, why not?! Plus the wife had been eyeing the aggressive off-roading rig for some ne time already, in case she might need it once the Apocalypse commences. My goal was to have at least a 2” lift so I could install aggressive wheels/tyres (Methods and KO2).
Since the mileage has been getting closer to the 100K mark on the XV, I figured spending now on a full coilover system would be worth it vs. getting a lift kit and still have the OEM suspension.
Price: It’s a whopping $1,630. I got it early this year, so I scored about a 10% ($150) discount. But note this stuff is made in ‘Murica and the build quality is superb, so you’re getting a great deal here vs. other competitor coilover system. (See unboxing video by Vaughn Performance for the GR Lite)
Delivery: It took close to 3 weeks from order time to actual delivery. I was told the lead time was 4-5 weeks so I was glad it came earlier. Felt like Christmas opening my gift especially since snow was still widely spread here in Minnesnowta.
Installation: Do make baseline measurements on everything before you start. Researching, viewing DIY videos, and asking questions from pros would really help you prepare for this. I learned it the hard way cause I thought I could just muscle through it the entire way. 😂
When Flatout Suspension sends you the box, inside will be a blue folder giving you all the details on how to install it to your vehicle. If you follow all the instructions and KNOW the terminology (I had to Google a lot of the big words that came with the instructions like Perch, Rake, Rear Control Arm, Preload, and many more), then you should be set and installation should be relatively easy.
Also give yourself sometime to familiarize with the basic anatomy of your vehicle; it will go a long way. This coilover system already comes with an additional 2” height from the OEM suspension system—but wait, there’s more. Since this is a new coilover system, you could adjust height in different ways: through the spring or the screw tube turning the perch to increase/decrease the total length of this system or by adding more preload. While I was installing this I was on the DMs with a Flatout Suspension Representative and they responded quite well. After installation when I lowered the car, I noted the rear tyres were a tad closer to rubbing the proximal end of the wheel well arch (actually it did). If I had read furthermore before buying the said coilover system, I should have included the subframe spacer (it’s on the FAQ that if you lift more than 1”, it’s ideal to install a subframe spacer). However, due to my excitement I never got to that part even when viewing the installation videos. I never had the patience to view all the 30min videos or different segmented parts of the installation video. So due to this, I had to wait for the NOW-ordered Rallitek Subframe Spacers. So for the mean time while waiting on the arrival I lowered the height of the coilover system to how it was during my baseline measurements. Also at this point I haven’t bought the wheel/tyre combo so instead of KO2 I bought the ATX(cheaper by $200)
1st Setup: As soon as the Rallitek Subframe spacer arrived I installed them the Friday aternoon after work making sure I wouldn’t have to work the weekend after. I went back to increase the height. I had to do a lot of adjustments to have it configured to our liking. Rear coilover is 1” higher than the front coilover and I went to full soft on the blue adjuster on top of the coilover system. I ended up just increasing to about the width of the spanner wrench additional to the 0 preload the coilover system came with. This setting felt bouncier and the wife and baby didn’t appreciate it when we had to drive up north. I didn’t do any off roading test on this setup.
2nd Setup: increased the preload on both front and rear, kept the height. Put on the intended wheel setup— wheels: Method Race Wheels MR502 VT Spec 215x7 +15 offsets and tyres: General Grabber ATX 215/75 R15.
Tried doing some off roading (gravel and mud trails), ride felt stiff and less bouncy. There might have been a couple of instances I felt we hit the bump stop. Good thing this coilover is durable.
3rd Setup: increased height and added more preload. Front measures 4” higher than baseline and rear measures 5” higher than baseline. I’ll call this se...
Will this work? And make the ready lift 2-in lift better?. We probably should have gone with your lift but it's too late now and we have terrible tire wear on the vehicle and are hoping to stop this by dropping the subframe. Are we on the right track?
Yes this will solve that issue with the ReadyLift kit. It's the main reason their kit is cheaper is because they do not include the rear subframe drop with the kit.
Would these work for a 2 inch lift suspension kit. Trying to decide between doing a 2 inch rear subframe spacer or doing 1.5 inches
Yes they do work for a 2" lift. If your doing a 2" lift there is no reason to drop the subframe 2" and the 1.5" drop we offer is plenty of spacer to allow up to a 2.5" lift.
Hi
I have a 2013 Impreza that I’d like to lift.
Im looking at adding crosstrek stock struts / springs. Looks like that would give me a 2in lift, so this kit would work well. Do I need to do anything to the front?
We have a kit on our website that has everything you need to swap to Crosstrek struts on an Impreza.
Would this fit my 2008 wrx?
In the applications list it states.
Applications
Compatible with:
2013-2023 Subaru BRZ
2013-2017 Subaru Crosstrek
2009 -2018 Subaru Forester
2008-2016 Subaru Impreza
2008-2014 Subaru Impreza WRX
2010-2014 Subaru Outback

Lifetime Warranty

Designed | Assembled | Made In The USA
